In our previous article, we’ve walked you through the procedures of creating a bootable Windows 10 USB disk or DVD. Today, we will show you on how to upgrade Windows 7 to Windows 10. Again, the handy media creation tool is all what we need.
Before you begin, make sure your Windows 7 has been activated, so that you can upgrade your computer to Windows 10 for free. (To find out, go to Start, right-click on the Computer icon and select Properties, and then, under Windows Activation, look for your activation status.) Although the upgrade tool allows you to keep your current files after the upgrade, don’t make it as an excuse not to back up your files. Please back up, in case anything goes wrong.
To get started, download the Media creation tool from this page. There are two versions of the tool – 32-bit and 64-bit. To find out which you have, go to the same window at which you check for Windows Activation. Look at the value for System type, under System.
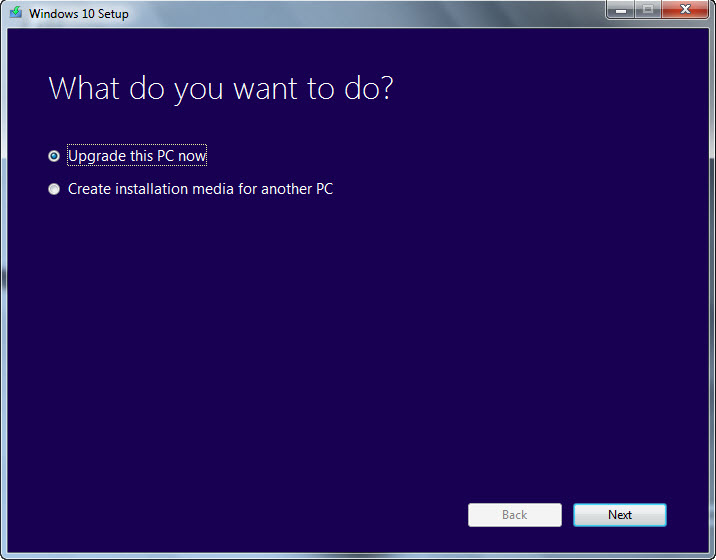
Simply run the tool after download. In the first screen, choose the “Upgrade this PC now” option. Click Next.
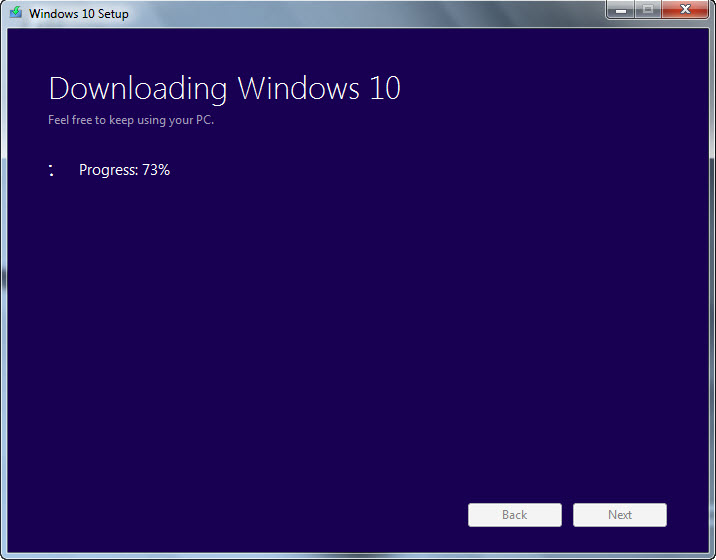
The tool will begin downloading Windows 10 and then creates Windows 10 media. It will take quite a while. So feel free to carry out other tasks on your computer.
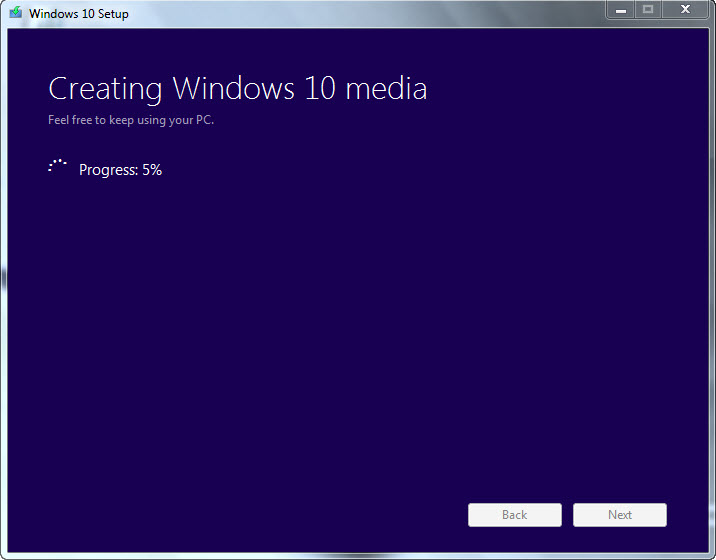
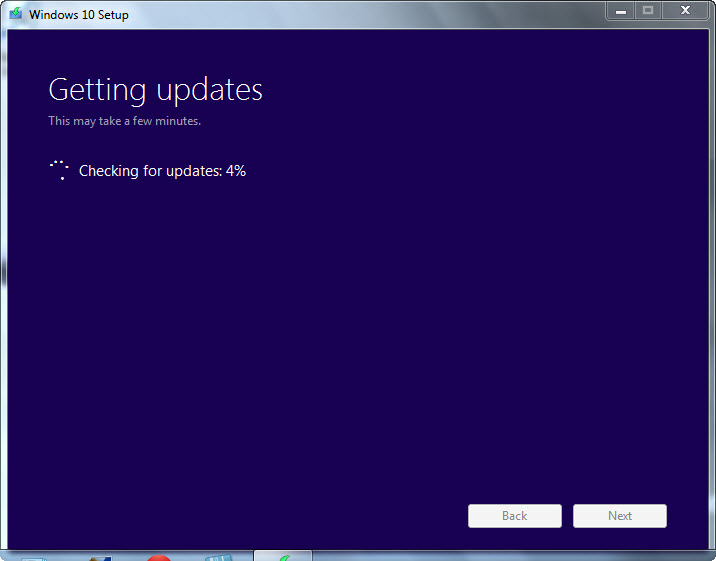
After download, the tool will check for updates and download them if any.
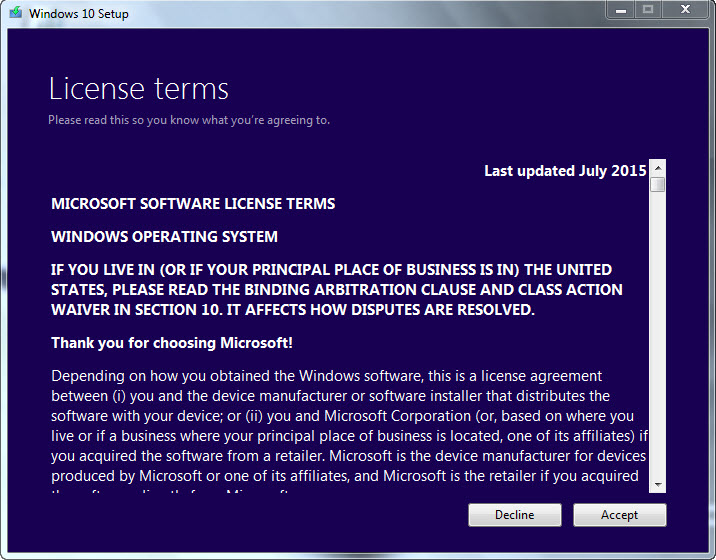
License terms will be displayed afterwards. Click Accept to continue.
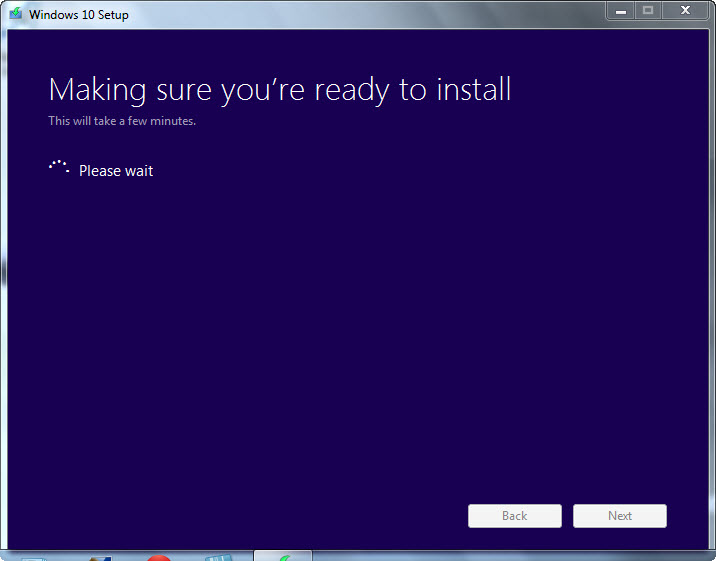
So far so good. Waiting for a few moments is not a big deal.
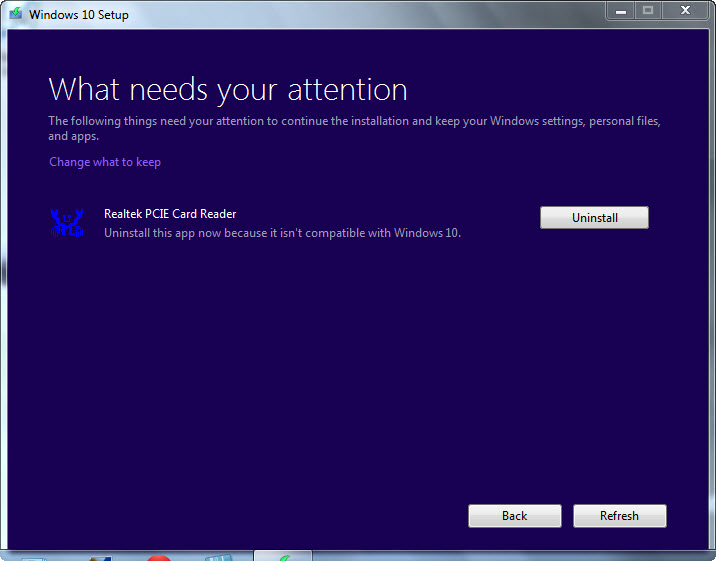
You will be prompted to uninstall any app that isn’t compatible with Windows 10. Click “Refresh” after uninstall. *You can try to reinstall these apps after the upgrade to Windows 10 is done.
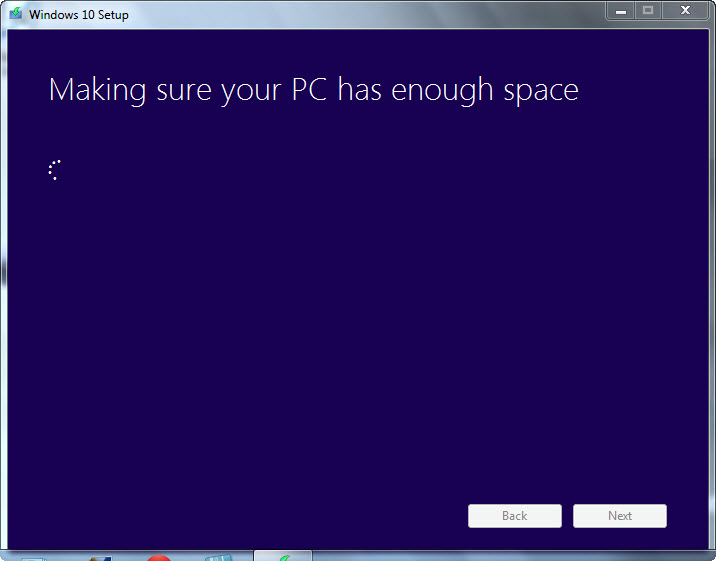
You’ll need at least 8 GB of free space to upgrade to Windows 10.
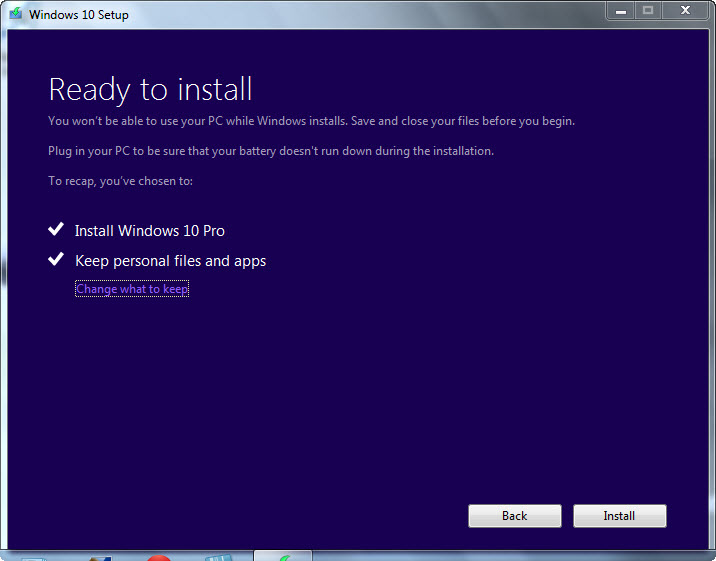
The tool will determine the version of Windows 10 that you get, which is based on your Windows 7 version. By default, all your personal files and apps will be kept after the upgrade.
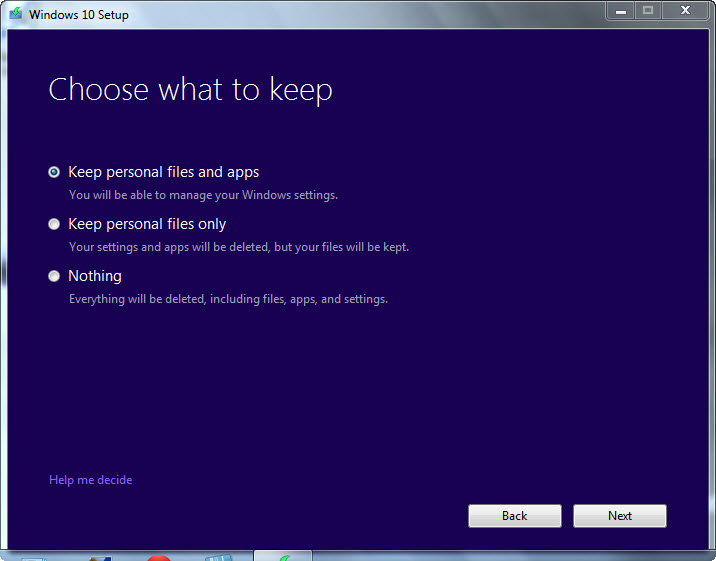
Clicking on the “Change what to keep” option will reveal three choices – keep personal files and apps, keep personal files only (apps will be deleted) or run a clean installation. Make your final choice and click Next to continue.
You can now bid goodbye to Windows 7 as the Windows 10 installation has begun.
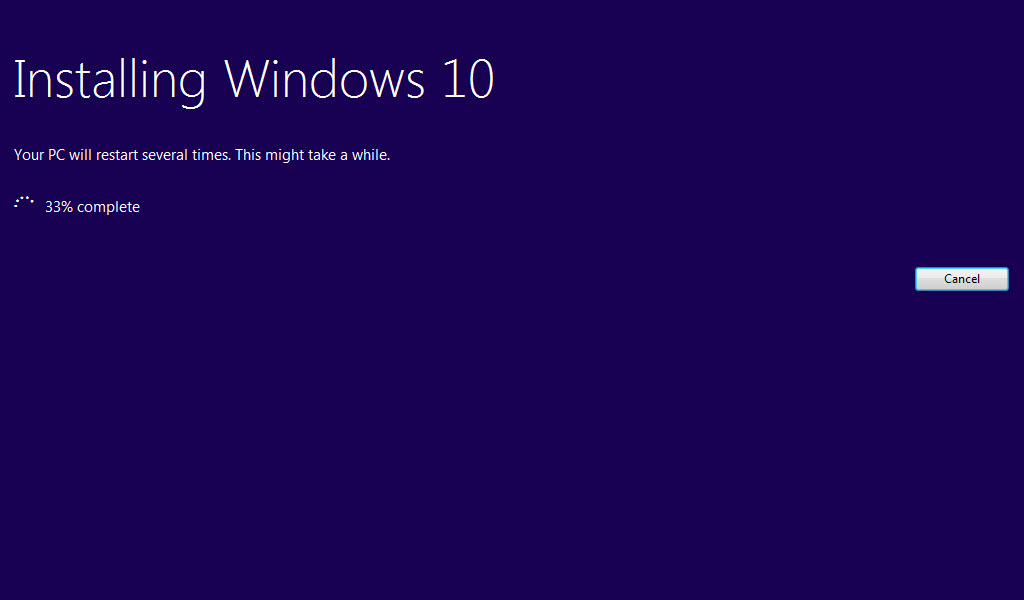
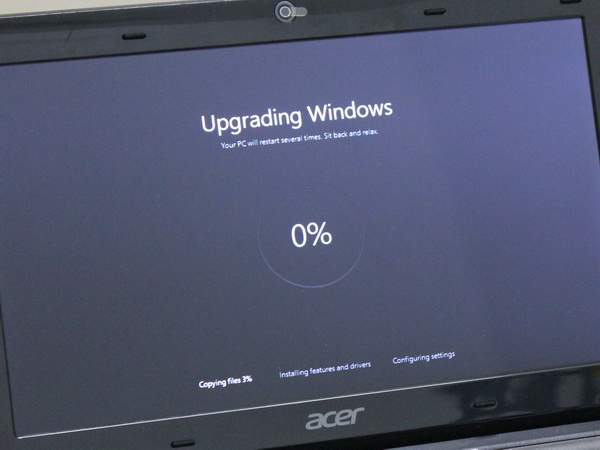
The computer will restart several times during the process of copying files, installing features and drivers and configuring settings for Windows 10.
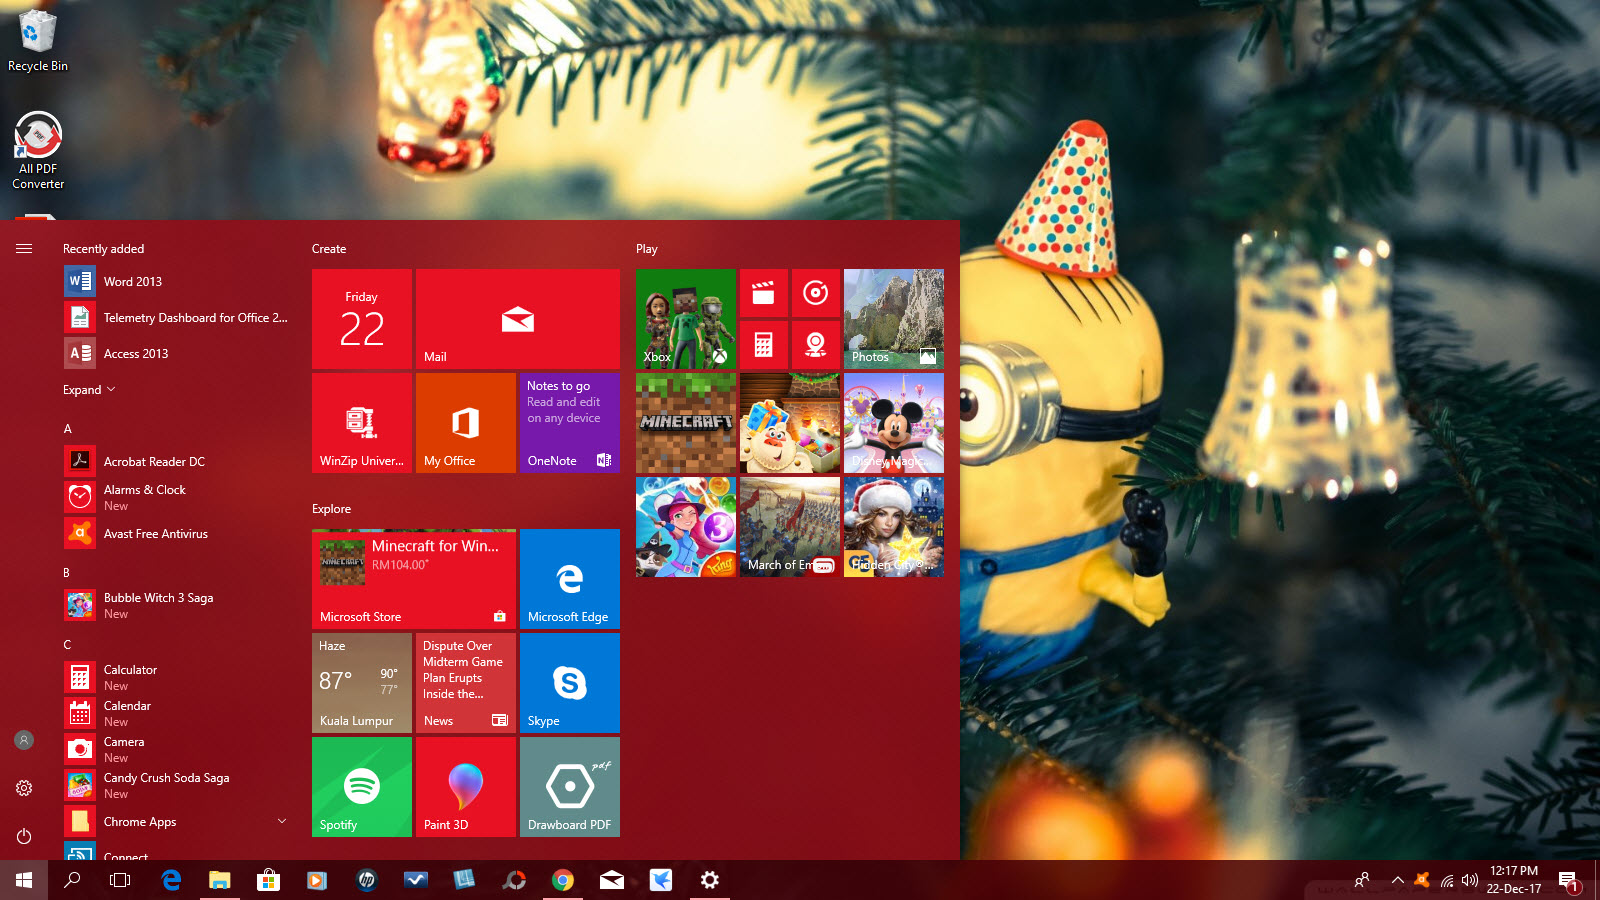
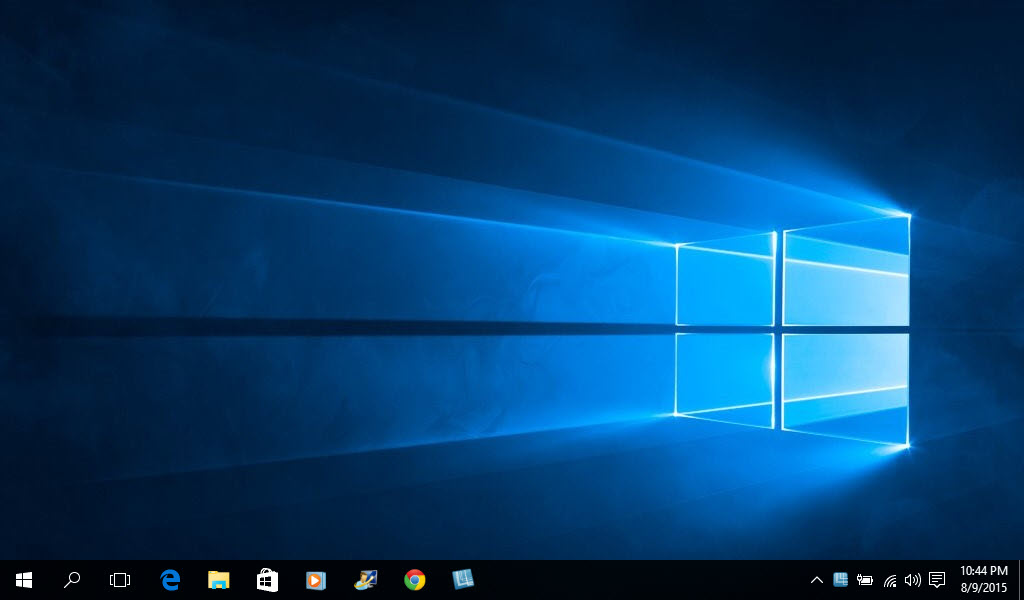
After all the process has completed, your computer is now running Windows 10! Congratulations and feel free to explore the new OS and features like new Edge browser, Cortana, Task Switcher, Snap Assist and more.
Related


