Not a while ago, we’ve shown you on how to run the Android 4.0 Ice Cream Sandwich (ICS) mobile OS virtually on your Windows (as well as Mac and Linux).
Today, guess what, you are going to learn how to run the upcoming Windows OS, the none other than the Windows 8, in virtualization on your existing Windows system. You will be using the free virtual machine utility, called the Oracle VMVirtualBox. Read on.
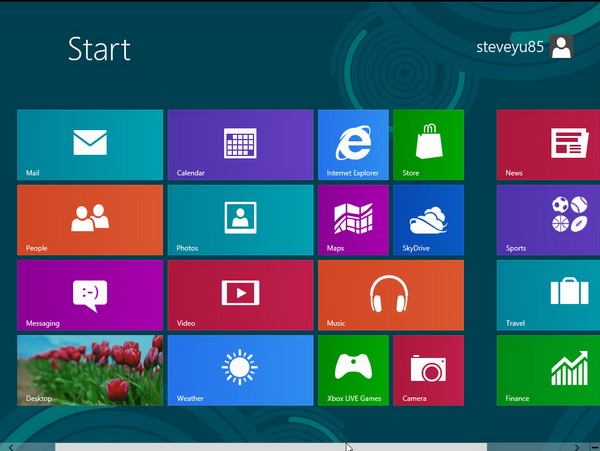
How to Run Windows 8 Virtually on Your Computer?
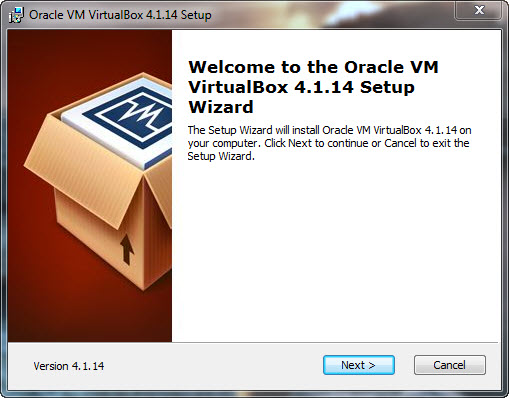
First and foremost, you need to setup the VirtualBox virtualization software on your computer. Please proceed to download the setup installer for Oracle VMVirtualBox here. The utility is available free for Windows, Mac, Linux and Solaris OS. After download, install VirtualBox on your system.
Now you already have the VirtualBox set up, you can then download the Windows 8 Release Preview (released on May 31, 2012) from Microsoft’s website as ISO image (32-bit and 64-bit are supported by VirtualBox). The ISO file is over 2GB in size, so it will definitely take a while for the download to complete.
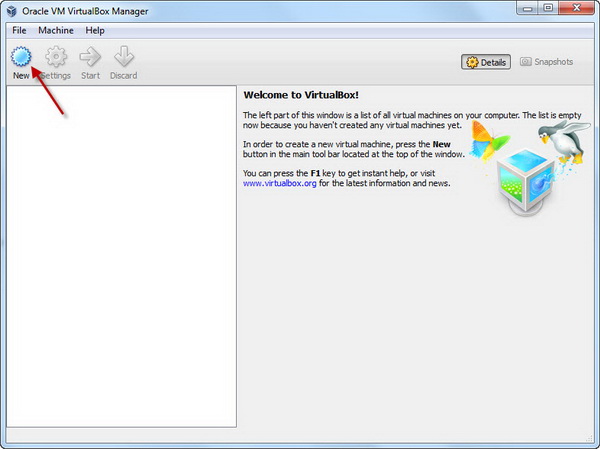
After completed download of Windows 8 ISO file, launch the VirtualBox software. Click on the New icon from the toolbar to create a new virtual machine.
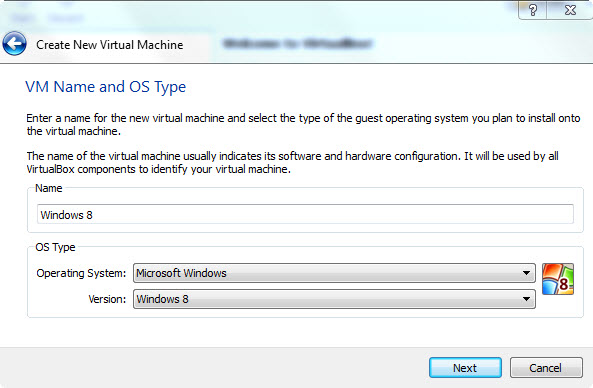
Follow the on-screen instructions to create the virtual machine. You will be asked to give the virtual machine a name. Type in Windows 8. You will notice that the OS version is automatically changed to Windows 8. Click Next.
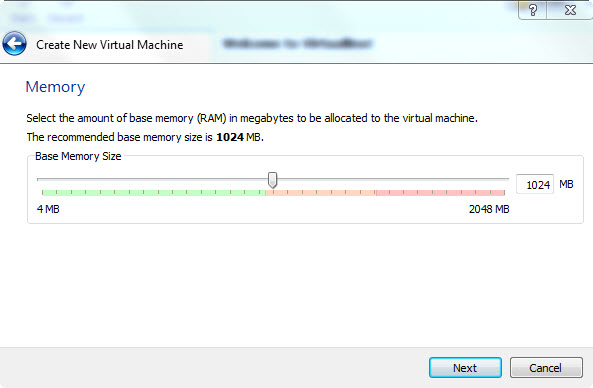
Now, choose the amount of memory to be allocated to the Windows 8. 1GB (1024MB) is recommended but the more the better. Click Next.
Note : You are not encouraged to allocated more than 50% of the memory to the virtual machine. There may not be enough memory for your computer.
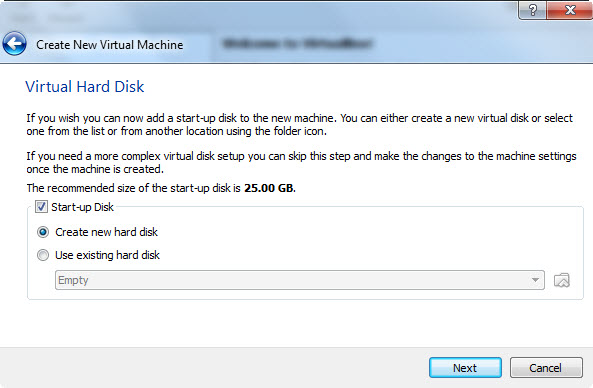
Next, choose the option to create new hard disk. Click Next.
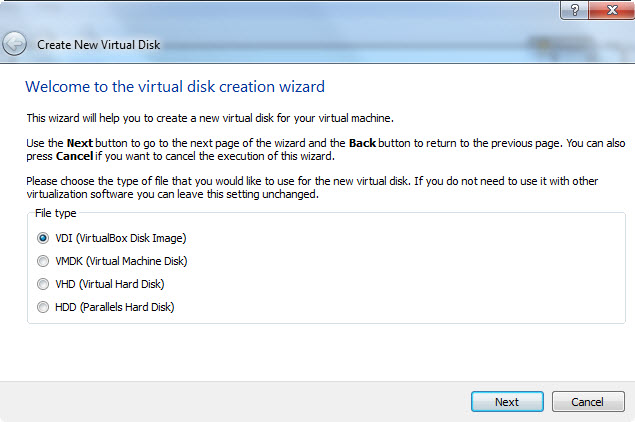
Choose VDI (VirtualBox Disk Image) as the file type.
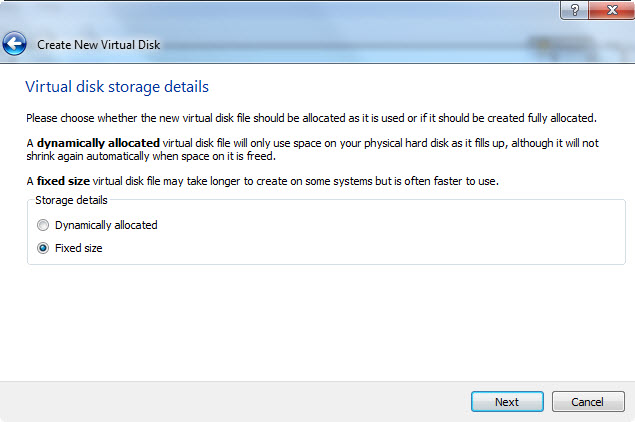
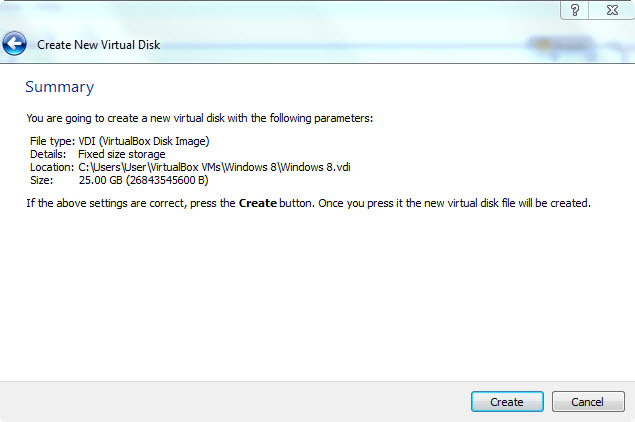
On this screen, you need to choose either to use dynamically allocated or fixed-size virtual disk file. If you want more flexible storage management (but you will experience slower Windows), choose the former, otherwise just choose fixed-size. If you goes for fixed-size, you may want to set the storage size around 20 to 30 GB. Again, the more the better.
Once you are done with the wizard, click Create to create the Windows 8 virtual disk on your system. The process takes a few minutes. In my case, 10 minutes.
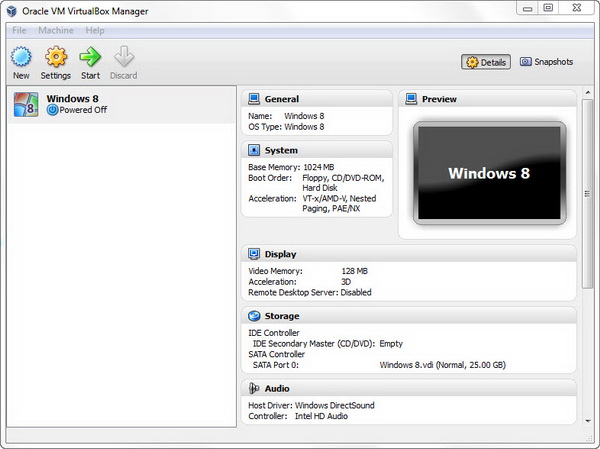
When the process has completed, you should notice the Windows 8 virtual disk listed on the left pane of the screen.
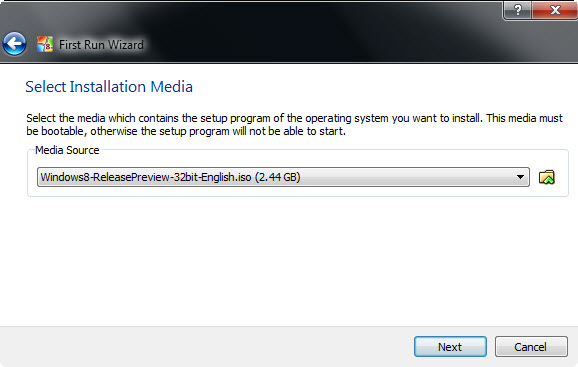
Now, it’s the time to install Windows 8 as a virtual machine. Click the Start icon from the toolbar. The First Run Wizard will walk you through the installation process. In the Select Installation Media screen, you need to locate the ISO file for the Windows 8 Release Preview that you’ve previously downloaded. Click Next > Start to begin the installation process.
The process takes a while to complete. When you are asked for product key, key-in : TK8TP-9JN6P-7X7WW-RFFTV-B7QPF.
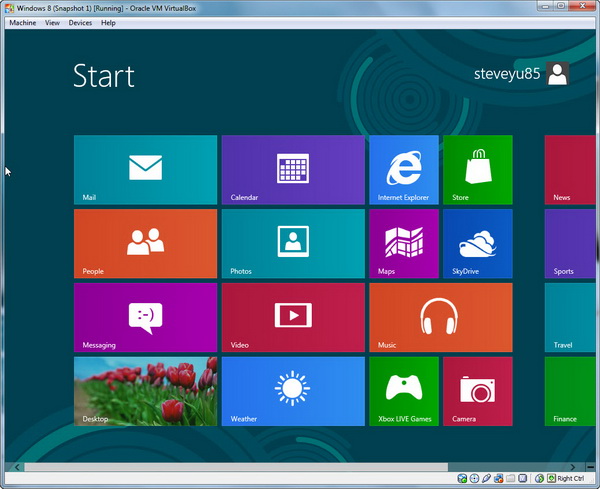
After the whole Windows 8 OS is successfully installed, you can run and play around with the new operating system.
Now, it’s your turn to try. 🙂
Related


