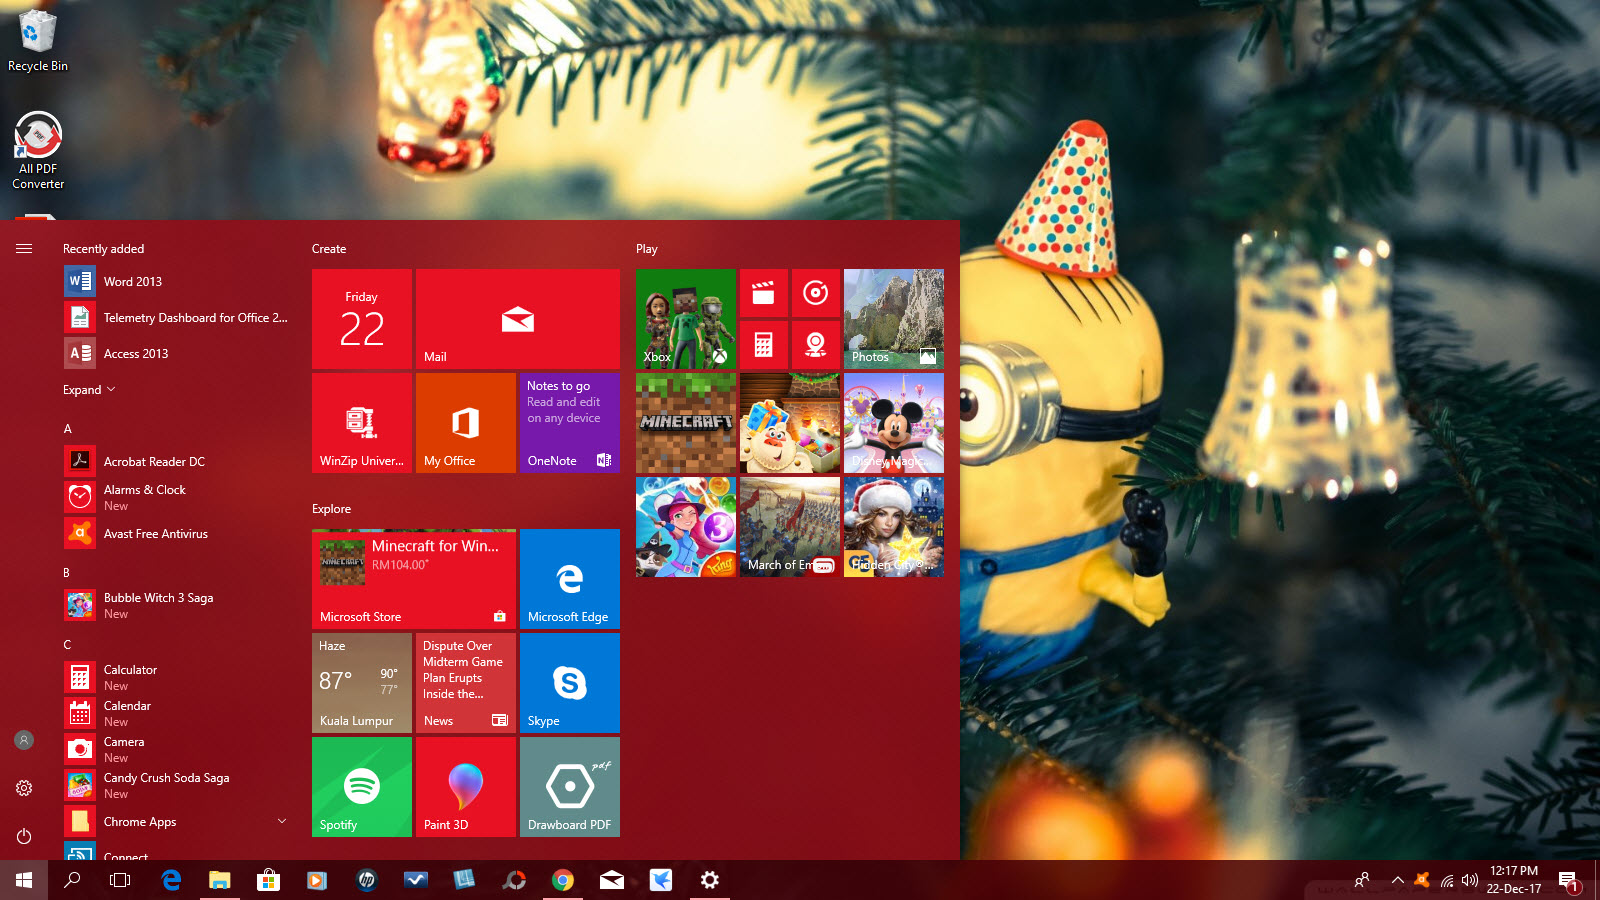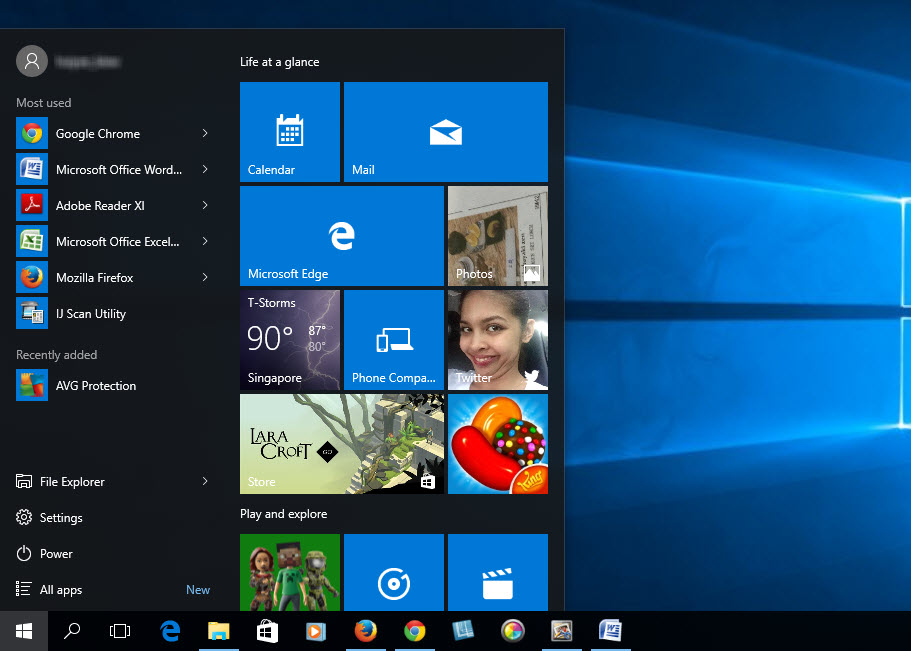
If you are new to Windows 10, we are glad to show you these 7 easy ways to customize your Windows 10’s Start Menu, without using any third-party application. 🙂
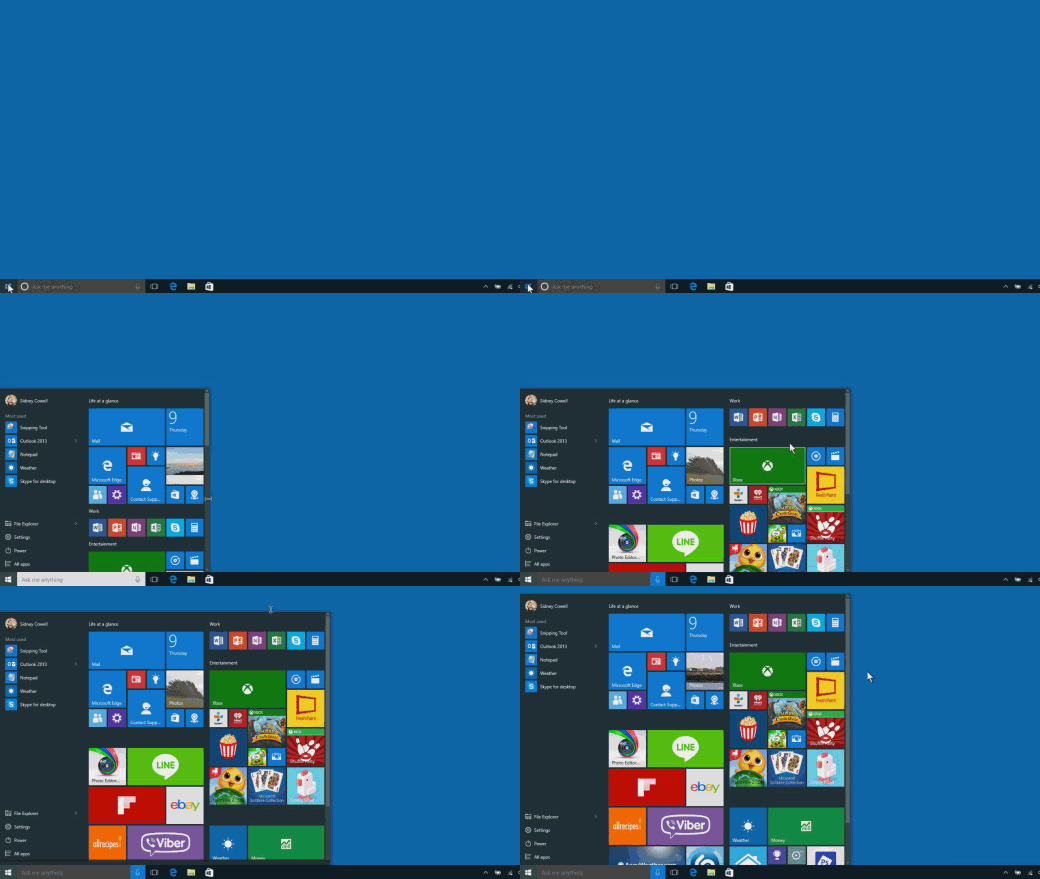
1. Resize the Start Menu
Simply select the top or side border of the Start Menu and drag to make it taller or wider.
Credit : Microsoft Windows
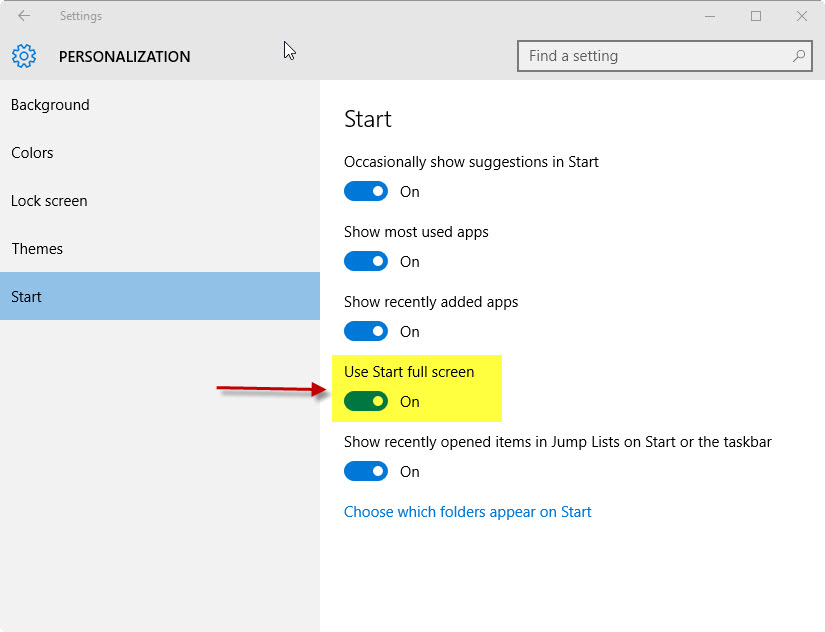
2. Make Start Menu full-screen
Go to Start, navigate to Settings > Personalization > Start. Turn on Use Start full screen.
3. Change the Start Menu color
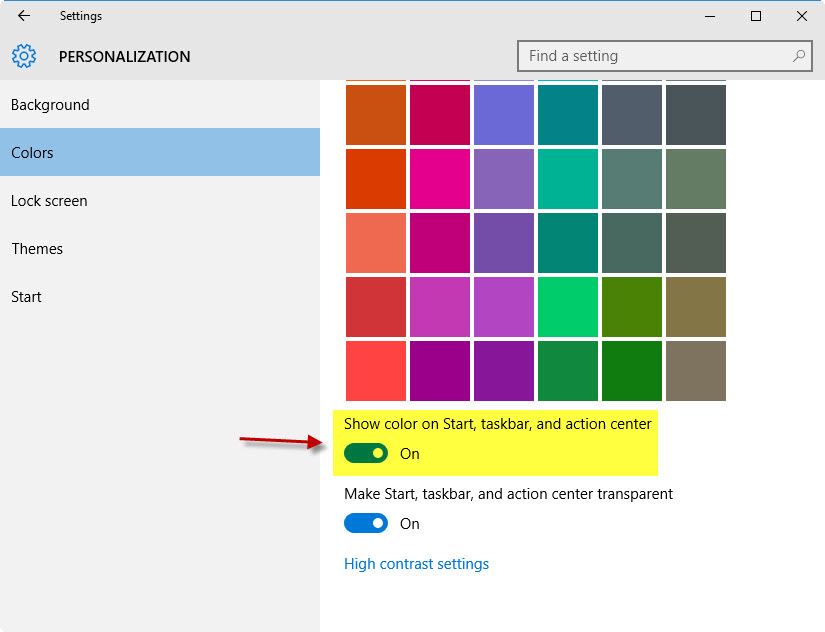
Go to Start, navigate to Settings > Personalization > Colors. Pick a color you like and turn on Show color on Start, taskbar, action center.
4. Pin and Unpin Tiles
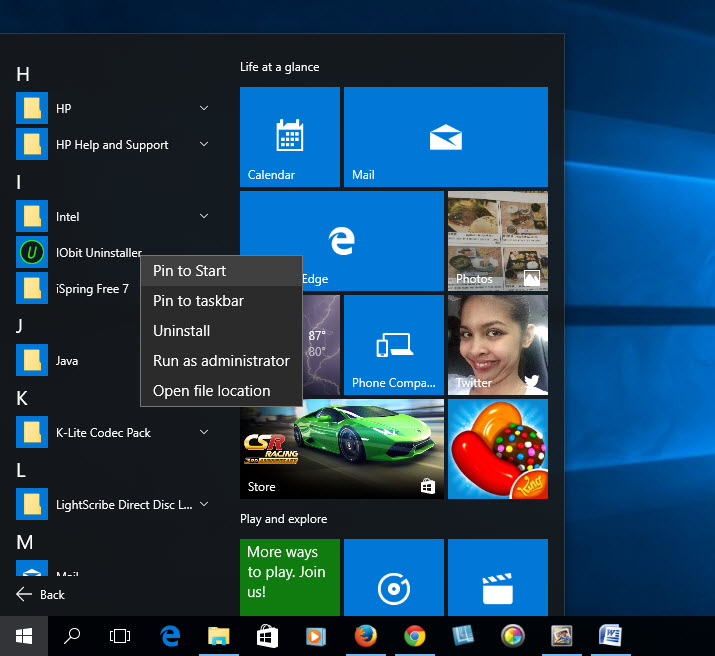
To pin an app as a tile, simply right-click on the app (Start > All Apps) in the Start menu and click Pin to Start. Or you can use drag-and-drop method.
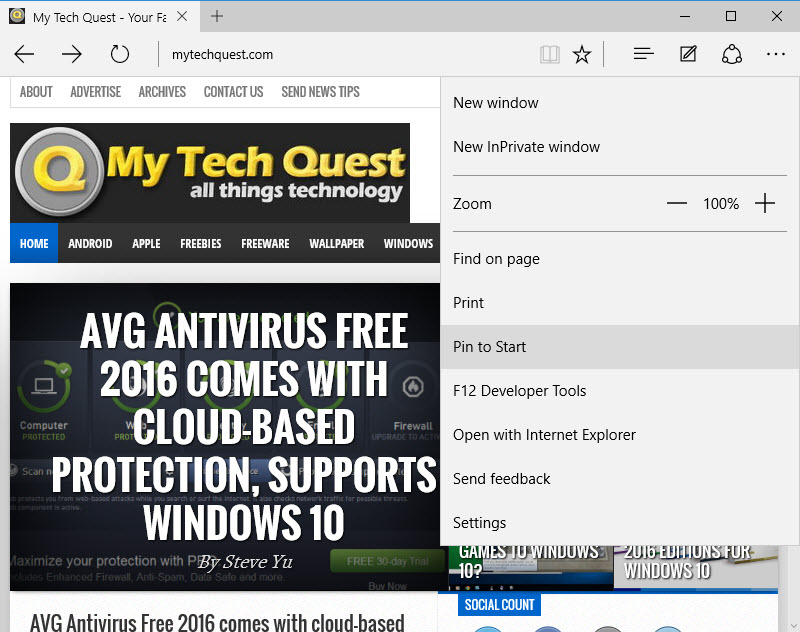
Websites can be pinned to Start Menu. To do so, open the website that you’d like to pin, in the Edge browser. Click on the button with three dots at the top-right corner of the browser. Click Pin to Start.
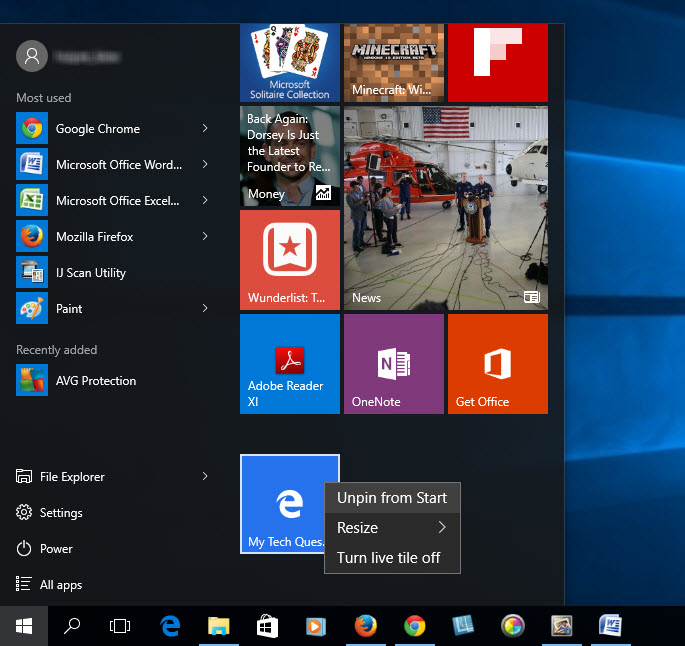
To unpin a tile, right-click on the tile and click Unpin from Start.
5. Resize and Rearrange Tiles
To make a tile larger or smaller, right-click on the tile. Choose Resize and select the size you prefer – small, medium, wide or large. Note that some tiles may have only two or three size options.
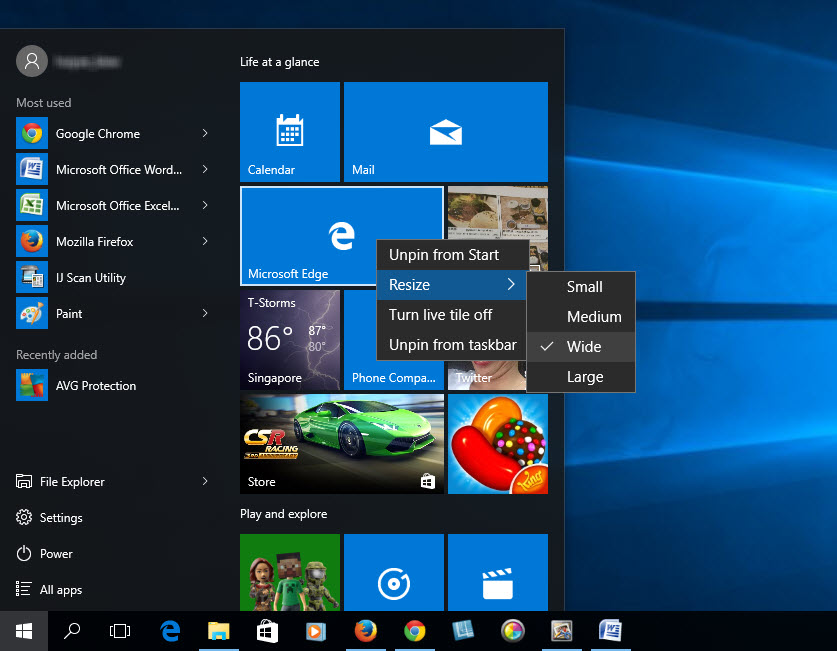
To rearrange tiles, simply drag and drop them.
6. Turn off Live Tiles updates
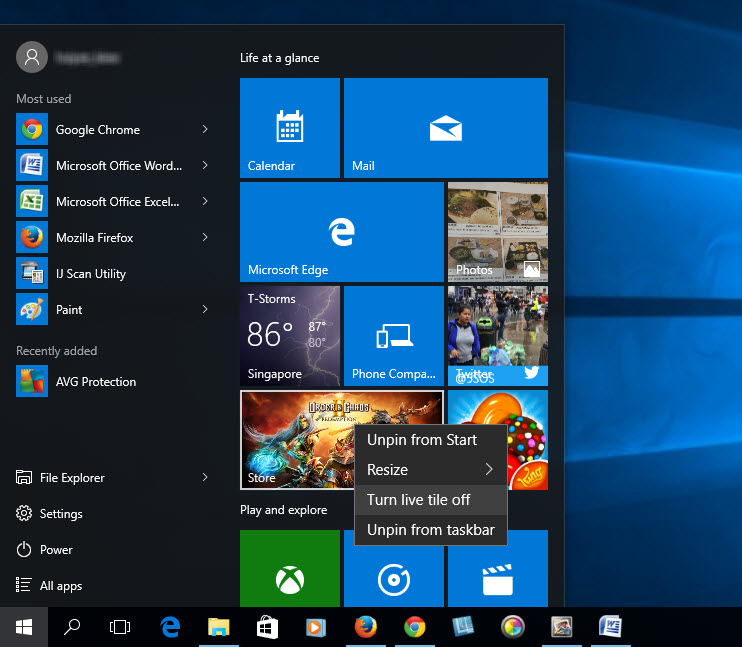
Tiles are useful in a way that they display live updates to users. News, Store, Xbox and Twitter tiles are some of the examples. But not many users appreciate it, including us.
To turn off live tiles updates, simply right-click on the tile and click Turn live tile off.
7. Add folders to the left side of Start Menu
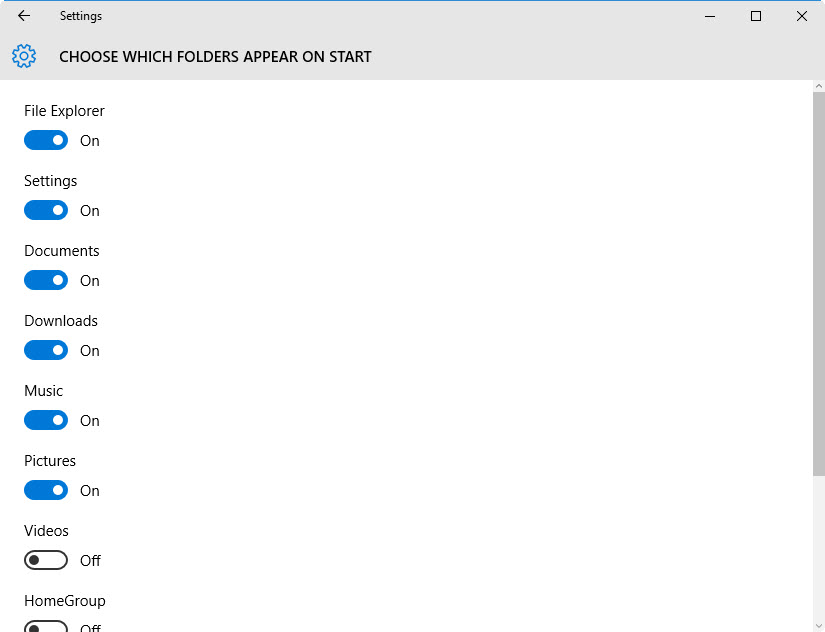
You can add folders to the left side of the Start Menu. However, Windows allows you to add a limited choices of folders.
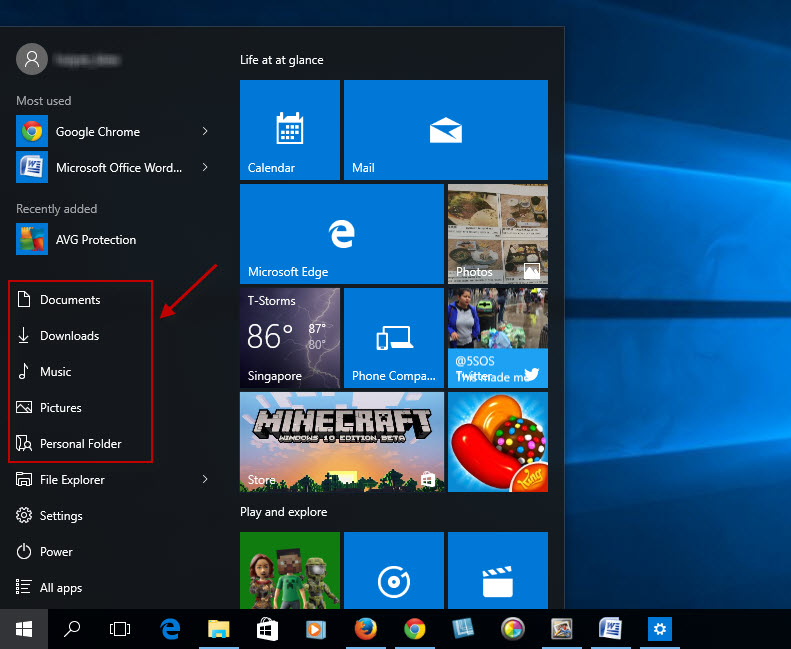
Go to Start, navigate to Settings > Personalization > Start. Click on Choose which folders to appear on Start. Choose the folders that you want to them to appear in the Start Menu.
