The other day (yesterday actually), I was checking on my blog’s traffic stat when I noticed a message which came out from nowhere. It appeared at the top of the traffic stat.

Reads :
Future upgrades to WordPress.com Stats will only be available in Jetpack. Jetpack connectes your blog to the WordPress.com cloud, enabling awesome features.
I’ve been using the WordPress.com Stats extension on my blog since the first day I use this blog on self-hosted WordPress (back in 2008), now it appears that this extension – called Jetpack, is going to replace this plugin. That not all, Jetpack looks somehow promising, as it mentioned about the bringing some of the awesome features from WordPress.com to self-hosted WordPress blog.

I visited the official page of the extension and learnt that once you have the Jetpack installed on your WordPress blog, you will unlock or activate a handful of essential features which are only available to WordPress.com users, and bring them to your self-hosted WordPress blog. FYI, Jetpack is a WordPress plugin that connects to WordPress.com and enables awesome features, powered by their cloud infrastructure.
So, what’s the features that we get?
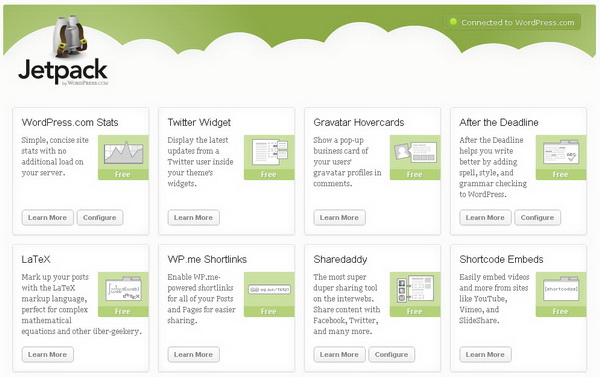
- WordPress.com Stats: Simple, concise site stats with no additional load on your server.
- Twitter Widget: Display the latest updates from your Twitter account inside your theme’s widget.
- Gravatar Hovercards: Learn more about your commentators with enhanced information for Gravatars (includes full name, bio, other web profiles).
- After the Deadline: An artificial intelligence based spell, style, and grammar checker.
- Latex : A famous markup language to quickly create beautiful mathematical expressions and equations.
- WP.me Shortlinks : Enable WP.me-powered shortlinks for all of your posts and pages for easier sharing.
- Sharedaddy: Easily share your posts via email or favorite social networks such as Facebook, Twitter etc.
- Shortcodes Embeds: Quickly add movies, images, and more to your posts and pages with a single line of code.
How to Install Jetpack extension on WordPress blog?
You can search for the extension from your WordPress dashboard. Go to Plugin > Add New, type Jetpack in the search box and hit Enter. Click Install. Or you can do the hard way, download the extension from WordPress plugin site
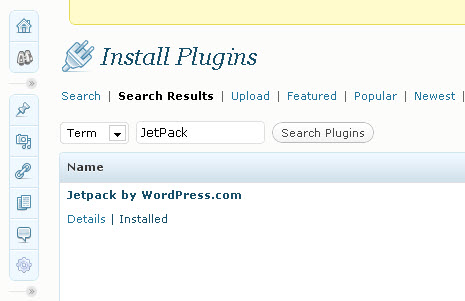
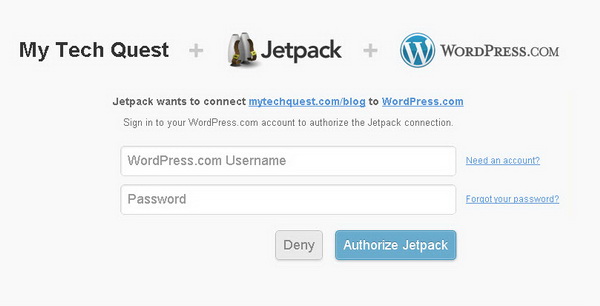
After installation, you need to connect your blog to WordPress.com to activate all the features. Click “Connect to WordPress.com”.

Sign in to your WordPress.com account to authorize the Jetpack connection. Sign up for an account if you don’t already have one. Click “Need an account?” to sign up.
Now, let’s explore and take advantage of all the features which is not only available to WordPress.com user but also for all self-hosted WordPress blog as well. =D
Related


