


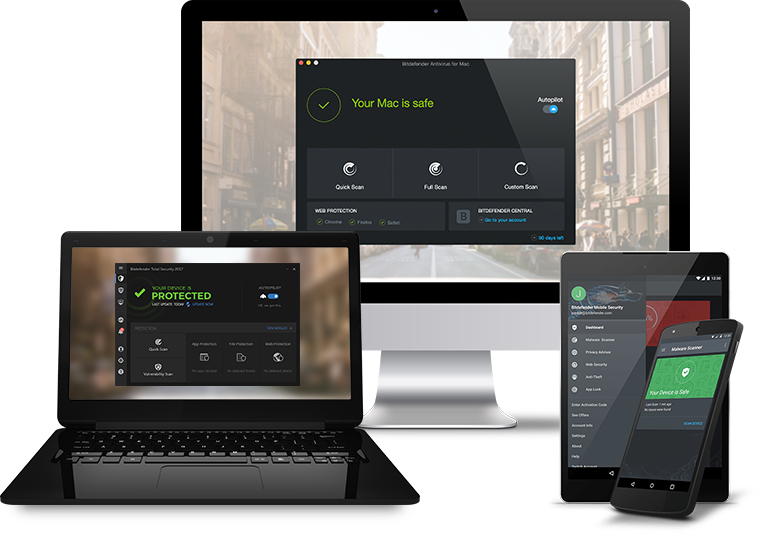


All of us know that it’s crucial to backup the data from our hard drive at regular basis because we’ll never know when the disaster will strike, causing data loss in our computer. We are all aware of this, but how many of us really backup the data? Not many!
Actually it’s not difficult (and free too) to backup data from your hard drive. In fact everything is automated with the help of data backup and restore software like Genie Timeline Free 2012. This application is easy-to-use, automatic and set-in-and-forget-it backup tool.
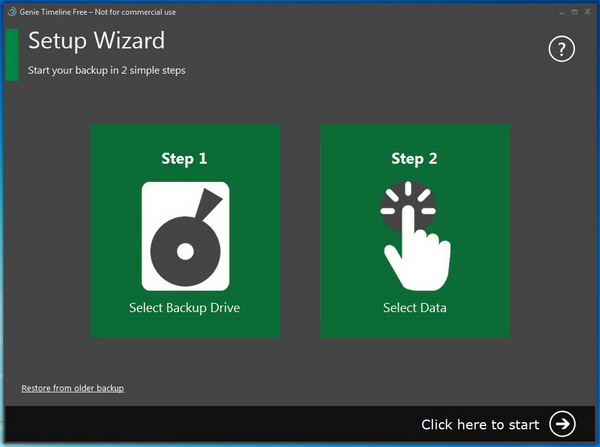
After successful installation, on the first run, you will be prompted to configure the backup through the setup wizard. It takes only two simple steps, first, select the destination drive to backup and store your data, second, select the data to backup.

You can select local drive to store the backups or choose to backup data to an external drive. If you choose external drive, then make sure the drive is connected to your computer all the time.

Next, choose the data that you want to backup. The Smart Selection section displayed some of the file types that you may want to backup. This includes office files, pictures, music, email, financial files, files and folders on desktop, videos, My Documents, browsers’ bookmarks, mobile data synced to your computer (iTunes and Blackberry files), eBooks and PDFs, compressed files and ISO images. However, disaster recovery is not supported in the free version.

If the files and folders that you want to backup are not in the list, you manually select them from the My Computer section. You can choose to backup files and folders from external or network drive.

Once done, hit the Next button. The application will verify your backup selections and returns the following message when everything is successfully configured.

Now, the application will start the first backup of the selected data. Genie Timeline Free 2012 supports incremental backup, meaning that the application will detect and automatically backup any new and modified files. The minimum interval between each backup is 8 hours.

Moreover, the application features internal deduplication (machine-level) to eliminate multiple copies of files stored in multiple locations in the backup. Plus, it’s now twice faster to backup the data as compared to previous version.
To restore the data, simply go to Restore > Advanced Restore. Follow the step-by-step wizard to restore the files you need.
Genie Timeline Free 2012 is compatible with Windows 7, Vista and XP operating systems.